It's me again, Jessie Scott (@chevy.scott on IG) . Today I am collaborating with Pear Blossom Press for this super cute light up card using Pear Blossom Press's Halo Light and the adorable Digital Stamp from Gerda Steiner Designs: Penguin with Candle.
Note: This adorable Digital Stamp was made available for free last month to the folks in the private Facebook Group fan page. Not in the group? Comment/Contact Gerda Steiner Designs here on Facebook for the link to join for contests and more freebies!
This is a DOUBLE blog collaboration today:
1. Gerda Steiner Designs for how to use Digital Stamps available in their store: Tutorial below
2. Pear Blossom Press for lighting up the card! (visit their blog here for Part 2, live now!)
What is a Digital Stamp?
A Digital Stamp is literally a digital version of what you use at home made of photopolymer or rubber. Instead of stamping it with ink onto paper, you print it out and color it.
How to use a Digital Stamp
Have a printer? Want to try and see if digital stamps are an option for you?
Need more details? Can't watch the video right now? Keep reading!
Additional Details:
1. Printer- try what you have first!
A. Non-printer options: Don't have one? Try your local print shop!
Office supply stores can usually take a file from a USB drive or upload to their website and print for you to pick up. These are 99% of the time a high quality Laser Printer.
Check with Walmart or other stores that print photos on their services as well
Some work places do not mind if you bring your own paper to your job and print after hours on rare occasions. Check with your employer if this could be an option to just try it out and see if you want to invest in a printer at home.
B. Printer Paper
Your printer must be able to print on your preferred coloring paper or you might need to adjust to a different paper when you're printing images. A friend of mine has hers print on the best quality copy paper it can use and then adheres it to a piece of cardstock with glue and a roller tool to ensure a smooth paper to color on. You might have to figure out what works best for what you have and your preferred coloring medium.
If you feel the need to buy a new printer, be sure you read the specifications and check for "heavy cardstock" and the GSM it can handle. Only buy from a place allowing returns just in case you can't get it to work for what you need.
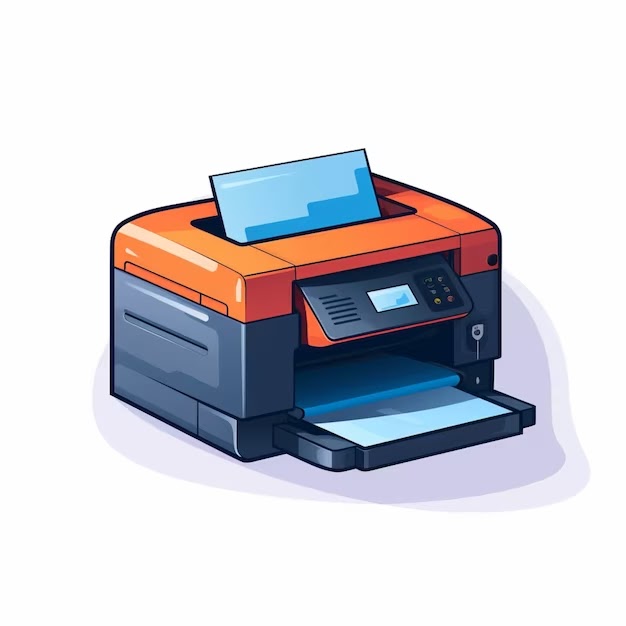
I shopped a bit and decided on an HP Laser Printer (M182nw). When I checked the specs it was able to load heavy paper from the tray. Most printers you want to have a manual feed option because the thicker 80lb Neenah and similar will get stuck. I got lucky and my printer can use a tray feed for my 80lb Neenah with no manual feed required. I do still have a manual option if needed.
C. Printer Type and Coloring Medium
For most coloring mediums Laser Printers are your best bet, BUT you CAN usually make it work with Ink Jet.
Treat Ink Jet Printers as you would a new dye-based ink pad. You will need to test if it can be used with your coloring medium without smearing your image right away or try heat setting or curing overnight.
If you're using alcohol ink markers I highly recommend a LASER printer. If you're thinking of getting a new printer, Laser Printers are worth the investment because
They don't dry out like ink printers(I live in the desert so this is a big decision point for me) and
Laser Printers use TONER... so you can also do custom toner foiling using these printers. Black only are very affordable - just make sure you're using OEM toner (yes it's more expensive) as this adheres best to thicker cardstock and is also the best quality for toner foiling. Do NOT use off brand toner as it can be mixed with "stuff" and you will have smearing for coloring and issues with foiling.
You CAN use an Ink Jet Printer but it's recommended to let the ink dry overnight. Some printer ink can be heat set and used right away, but you will need to see what works for you with your printer.
Check the different coloring mediums you use with your sample. Colored pencils make it so you can use either kind of printer until you start using gamsol or oils. It can smear inks.
Same with water coloring, you will need to be sure you can print on your preferred paper or just use the thickest paper you can print on and try to use less water and then run the finished panel through a laminator to flatten it.
You can purchase this Penguin with Candleor, just to try this tutorial, Gerda Steiner Designs is so generous, they have a few free digital stamps available to help you kick start your collection and start participating in challenges to win prizes. Try one out with this tutorial! (look for Digital Stampsmarked "FREE")
Digital stamps are also really affordable and INSTANTLY available. Don't have the perfect stamp for that project you need done tomorrow? Can't wait for something to ship? Check out the digital stamps! You can be coloring that image in 5 minutes 😉.
3. Application that imports images and sends them to your printer
I have a Windows machine but you can do this using any word processing program that allows you to import images on Macs. If you don't have a suitable program already, a great one that works on either system for free is Open Office.
I teach online courses and use this free program for all my students so they don't have to pay for services to participate in the online class. This program comes with a free version of the main Office programs like Word, Power Point and Excel for your desktop or laptop. https://www.openoffice.org/download/
I recommend always starting with a new file since MS Word and other programs might save the file compressing the image (losing image quality when you print next time after you save your project since it compressed the image to save it).
If you get an image just right and you want to save for later to reuse, I suggest saving as a PDF to print later.
If you wish to use MS Word or your other program's file over and over, check for a setting about image compression and turn it off so you have the best version of the image to print again. You also might want to consider using an image editing program like Photoshop if you want to keep editing the card layout.
I personally don't get too fancy haha. I just open a new file, drag and drop my images, resize as needed, and copy and paste to fill my page and print it. I don't save the file.
NOTE: What about using Dies
Because digital stamps can be a variety of sizes, you can't use dies. I strongly advise purchasing a Brother Scan N Cut to cut your images if you do not want to do a lot of fussy cutting! :)
Want to learn how I finished this card after printing out my Digital Stamp? Hop on over to the Pear Blossom Press blog today and see how to use their fun and easy light up supplies!
Hope to see you again soon for more cards with Gerda Steiner Designs!
This little mouse just brings a smile to your face. It also stamps beautifully the first time. As for the delicious strawberry. I plan on making some scrumptious summer cards for my fruit loving friends.
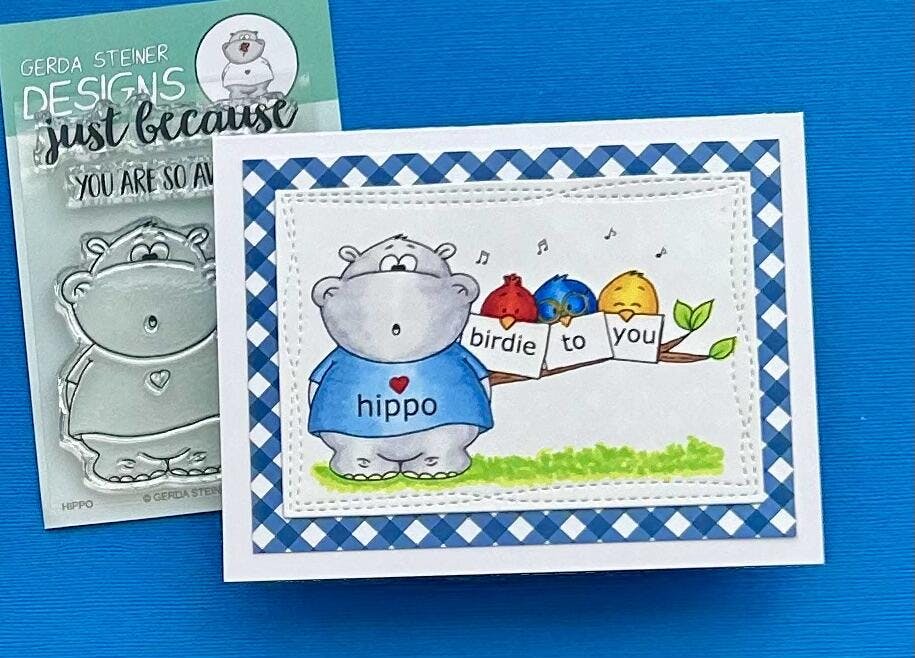
I love these cute birds and the versatility of the sign designs. This can be used for so many occasions. And, it can be combined with so many of Garda's fun critters. I used one of my favorites, Hippo, but right now, grumpy cat comes to mind. LOL.
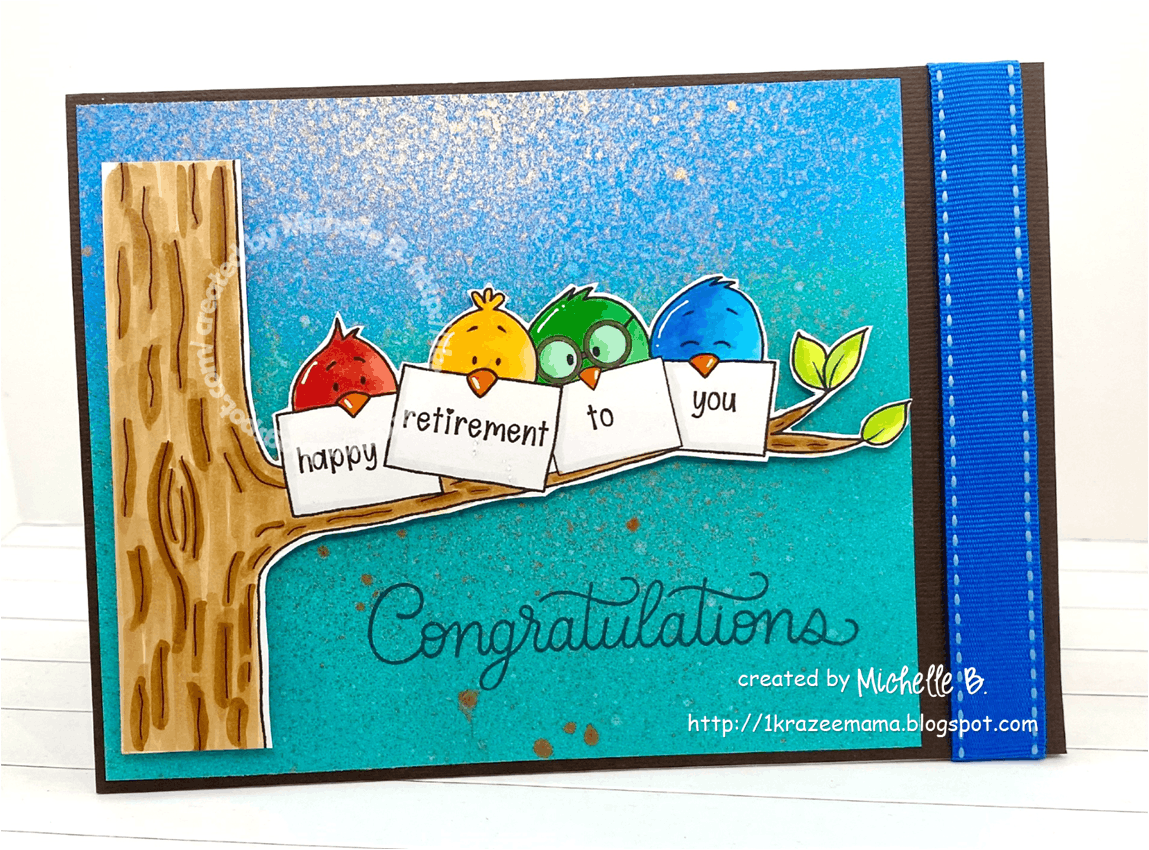
I was asked to create a retirement card for a co-worker and I searched for ideas but nothing jumped out until I received an email introducing Birds on a Branch - now this would make a perfect retirement card and it did! So cute and versatile - I love it!