Glittery Birthday Bear - Fun Happy Birthday Card by Karen!
July 01, 2020
Hello everyone, it’s Karen here today. I’m back with another card made using the adorable Birthday Bear stamp set.
If you would like to see a high resolution video of how I made this card, please
CLICK HERE
or you can see it in lower resolution here:
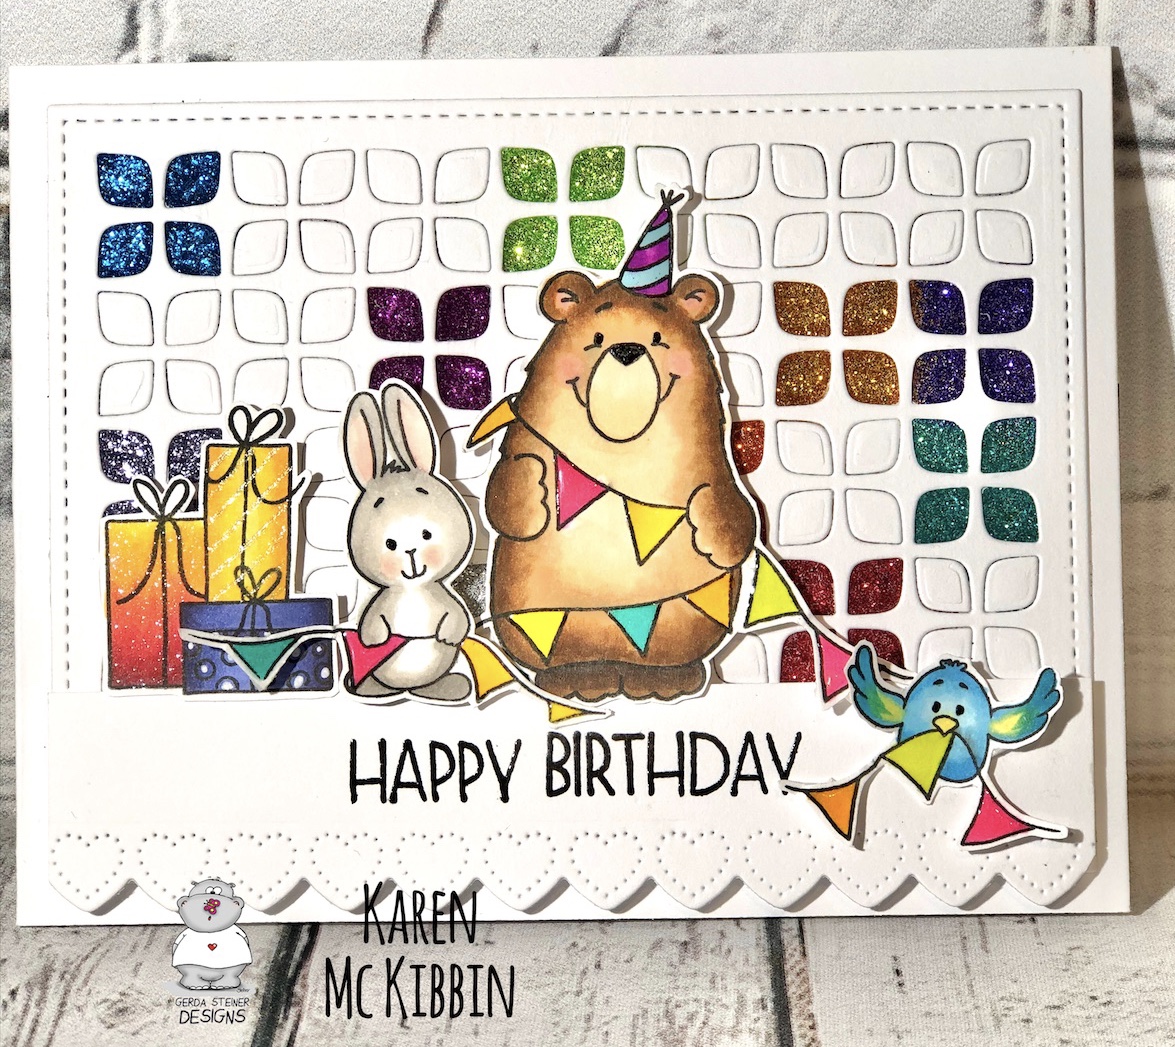
I copic coloured my images first (the marker colours used are listed below), and applied glossy accents to the banners, birthday hat, and the balloon. I set these aside to dry.
I cut a background cover die from Sunny Studios called Frilly Frames Retro Petals out of #110 white cardstock (you could use any cover die with openings in it). I saved the small die cut petals to later fill back in to the openings. I covered the back of my die cut frame with DieCut’N Bond which is a double sided adhesive. You could probably use any strong double sided adhesive such as Stick It for this technique. On the front of my frame, I filled in most of the openings with the saved petals, to make a pleasing pattern. The unfilled areas were mostly in areas where they would be seen behind the Birthday Bear characters.
I found micro glitter at my dollar store (as well as containers to store it in), but any micro glitter would work. I’m not sure if chunky glitter would stick in this technique. I masked off all the petals but one, and carefully applied a small amount of glitter to my first petal and rubbed it in with my finger, slightly pressing it down. Then I used a bone folder to really press the glitter to the adhesive. I used a Swiffer cloth to wipe up the excess as well as a brush. This is quite a messy technique, so I also keep a sheet of printer paper beneath my work. I continued filling in all the petals, using a different colour for each one. This is such a fun, sparkly background in real life and just perfect for a birthday party theme. If you didn’t want to do the glitter technique, the background openings could be filled with alcohol ink pieces, copic or watercolour pieces or even patterned paper. Lots of possibilities!
For the sentiment, I die cut a border using a Sunny Studio Heartstrings border die which I thought coordinated well with the petals. I stamped the “Happy Birthday” sentiment from the stamp set and clear heat embossed it. I trimmed it down to just cover the bottom of my frame and mounted it on foam adhesive. I applied foam adhesive to the back of my images as well, and then mounted them along the border sentiment.
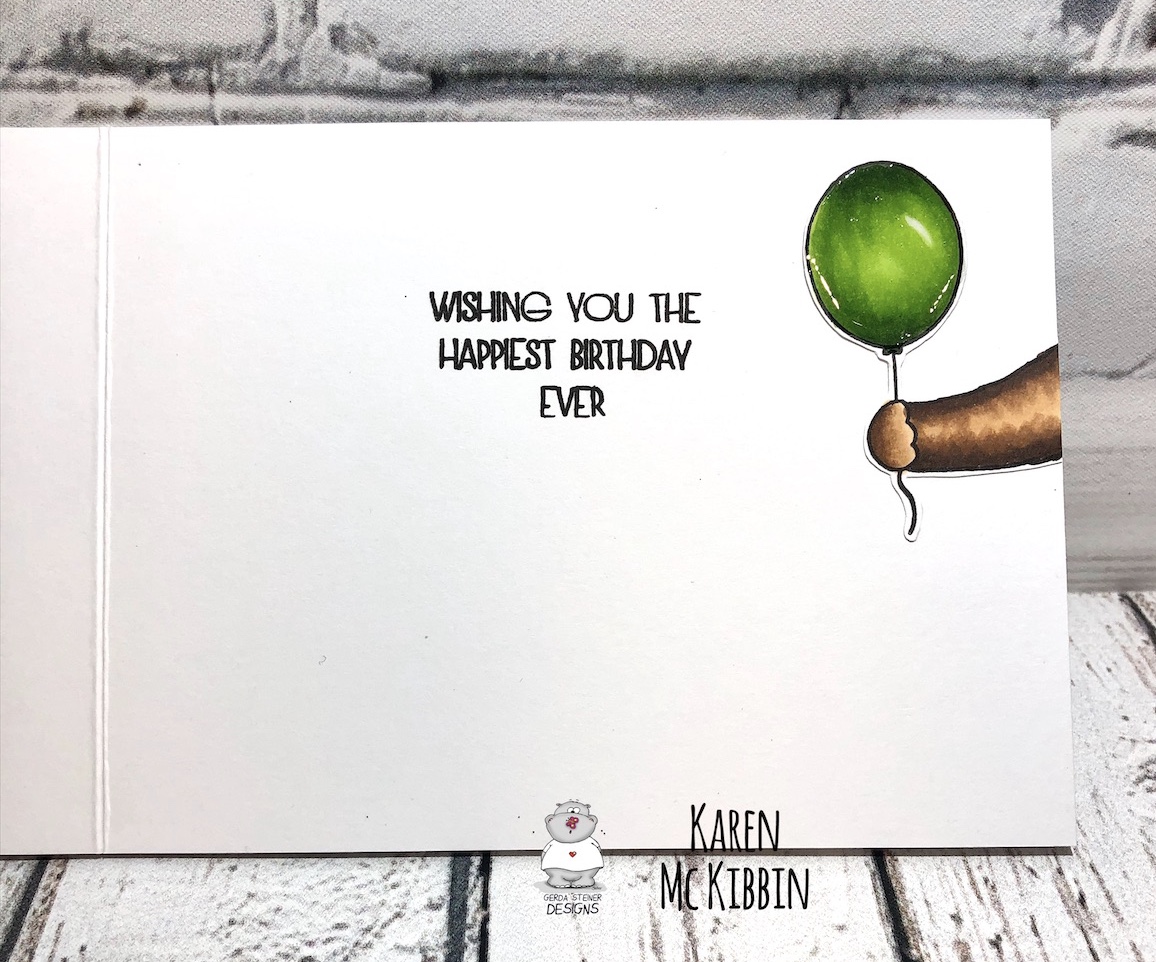
On the inside of the card, I stamped the sentiment from the Birthday Bear stamp set and added that super sweet bear arm with the balloon. I love that arm!
This is a really fun birthday card with a very festive, party feel to it and I hope you’ll give it a try!
Copic Markers used:
BEAR - E79, E59, E57, E35, E53, E51 R00, R20
BUNNY - W1, W2, W3, E40, R00, R20
BANNERS - RV04, BG13, Y17, YG03, Y08
BALLOON - YG67, YG17, YG03
Leave a comment
Comments will be approved before showing up.