Romantic Mice Valentines Card - Guest Designer Lesley Oman
February 01, 2017
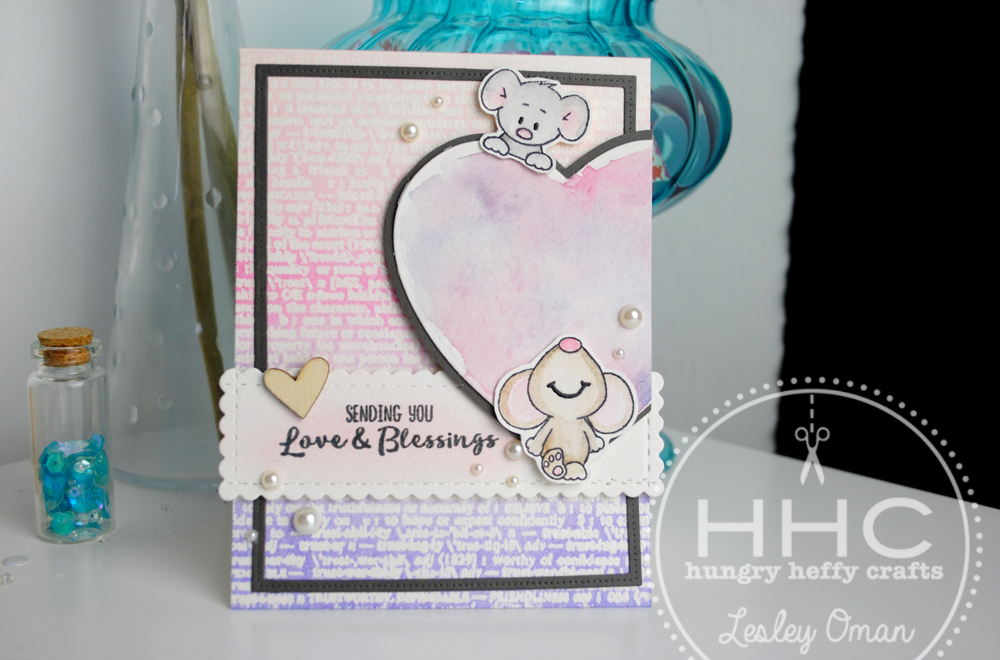
Hello everyone! Its Lesley Oman again, from Hungry Heffy Crafts, and I am delighted to be back with another guest designer post for Gerda Steiner Designs! This time I am working with the sweet Fall Mice stamp set - aren't they adorable! I figured that Valentines Day is fast approaching and so I was inspired to use soft, romantic colours, and I wanted my card to have a love theme! Lucky for me, the stamp set has a great greeting which says Sending You Love and Blessings, which was perfect for this card. I wanted to create a soft, romantic background, so I grabbed a large text print stamp from my stash and clear heat embossed the image onto some watercolour cardstock. I used some post-it tape as a mask along the crease to make sure the back of my card stays clean.
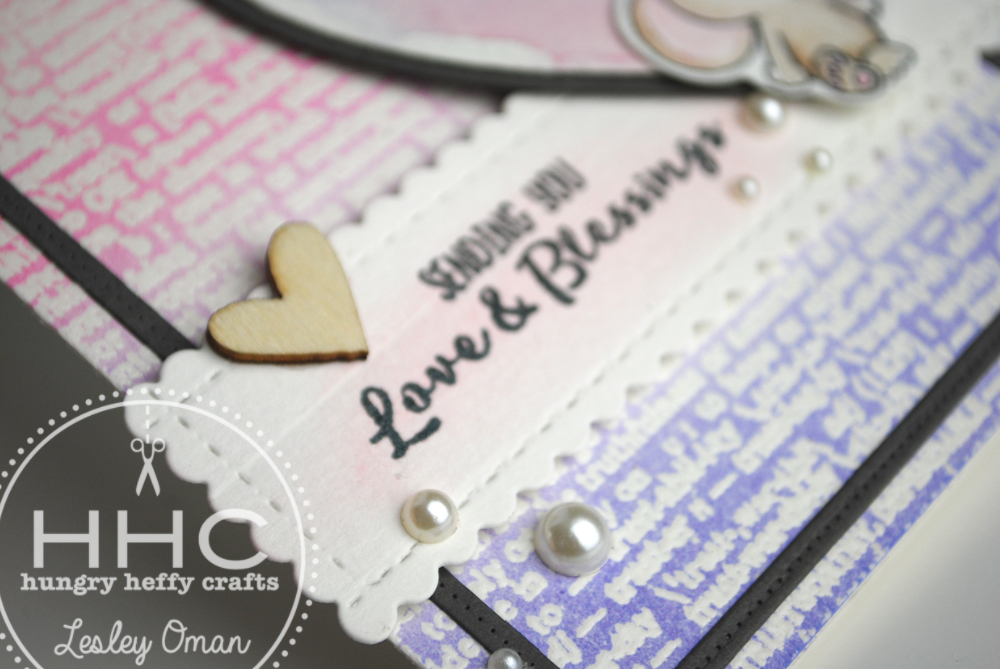
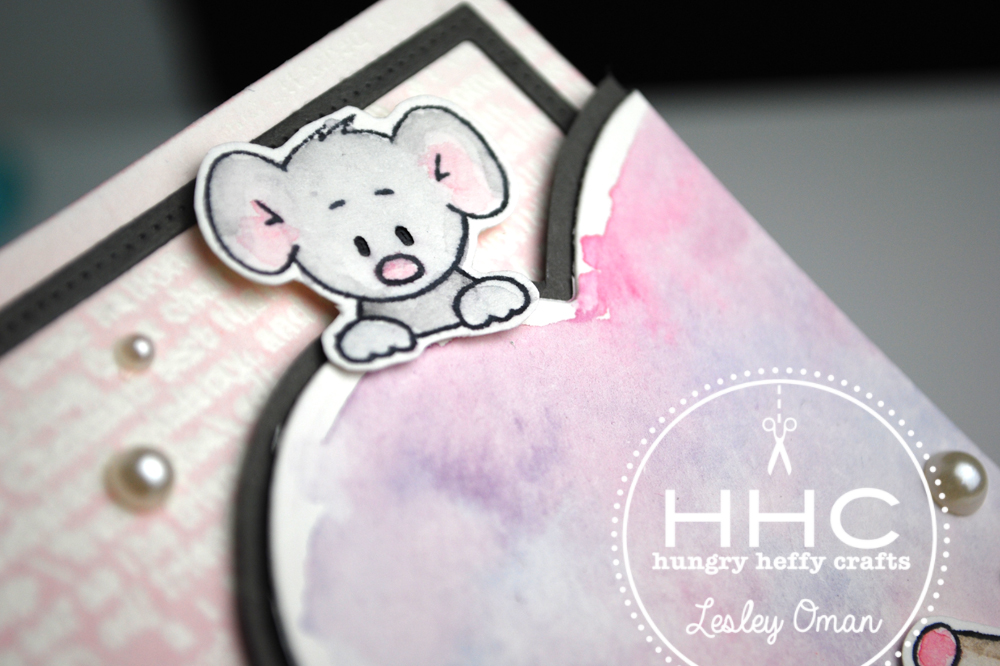
Next I used a few distress inks to blend some colour over the top of my embossed image- with soft Spun Sugar at the top blending into Picked Raspberry, and then a Shaded Lilac at the bottom. I had to work this pretty hard, but I got there in the end! Next I stamped two sweet mice from the Fall Mice stamp set from Gerda Steiner Designs onto watercolour cardstock, and painted these with my watercolour paint. I used the wet on wet technique to build up some soft, blended colours then I used my heat tool to dry the paint completely, before adding some shadows. Next I created my own watercolored heart - using a heart die as a guide. This is for my mouse to hold behind his back. Aren't they adorable!? To create a panel for my greeting, I used a scalloped rectangle die, but by running it through my cuttlebug machine a couple of times, I was able to create a uniquely sized rectangle that was just the right size! I stamped and heat embossed the greeting from the stamp set on the white panel, and then added a touch of spun sugar distress ink to give it a pop of subtle colour.
To create some contrast on the card, I wanted to add a frame using some dark grey cardstock but unfortunately I only had scraps left over. I didn't let that stop me though - I simply cut the frame in two parts, and then stuck these to the card, hiding the join behind the scalloped rectangle panel. I also mounted the watercolour heart on the same grey cardstock so it had a nice frame, and then stuck my card all together. To finish, I darkened the eyes with a little sakura glaze pen, and added a sweet wooden heart and some adhesive pearls! Thank you so much for joining me again. I had such fun playing with these stamps, and I am sure you will too.
Check out the video below for a full tutorial on how I made this fun card!
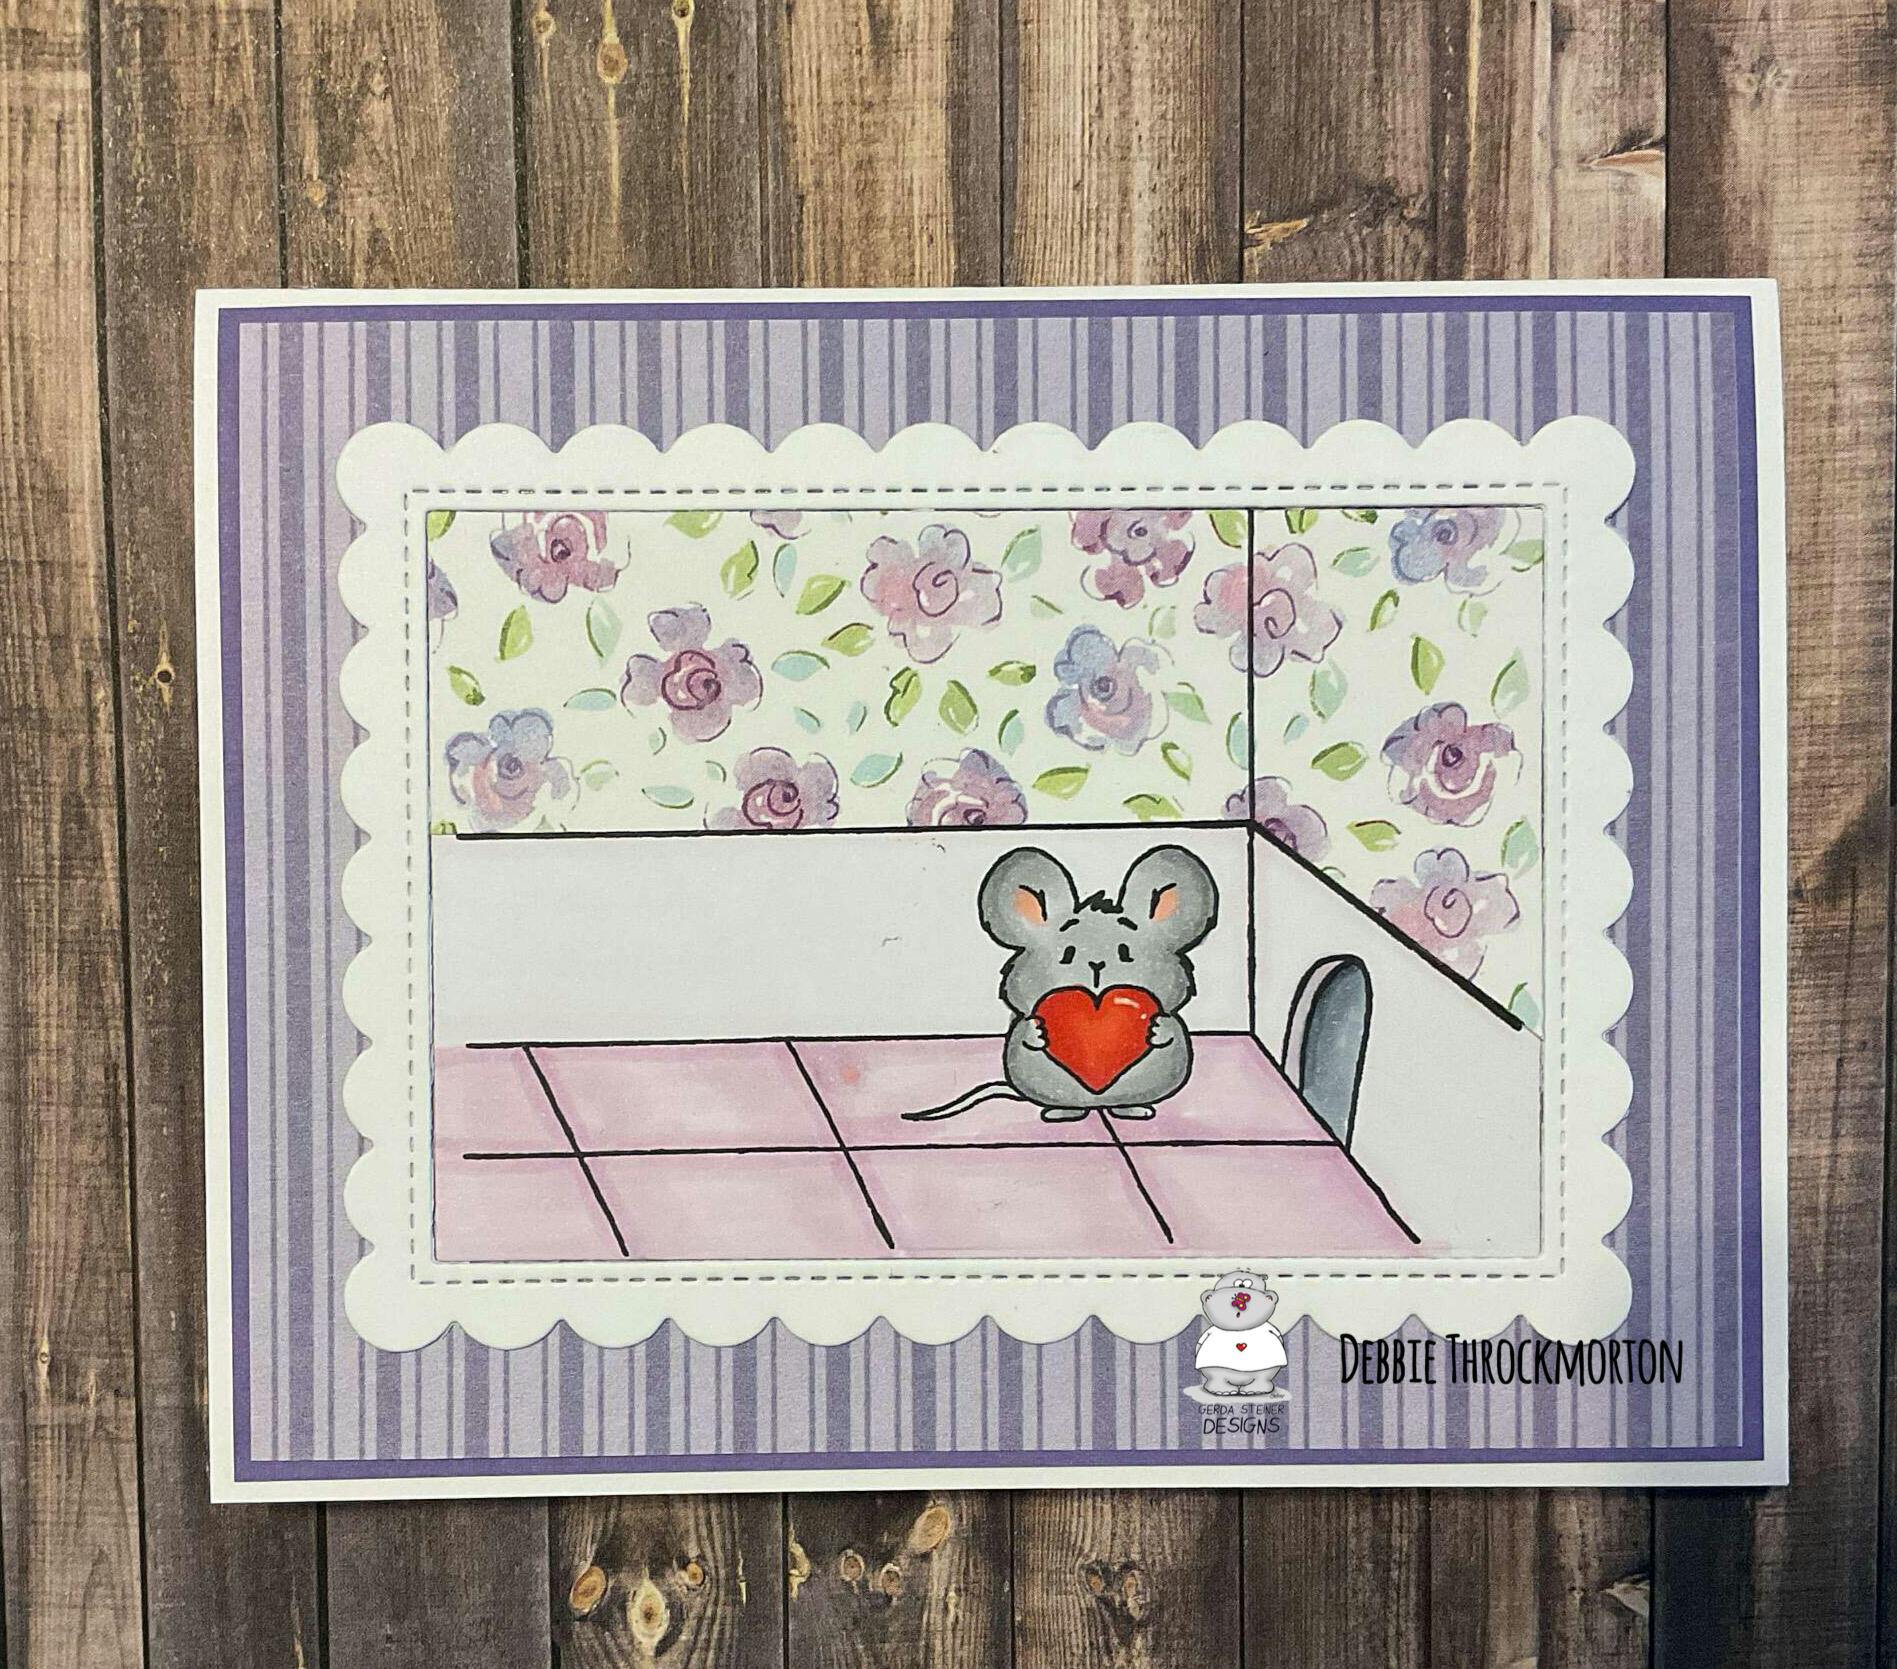
This little mouse just brings a smile to your face. It also stamps beautifully the first time. As for the delicious strawberry. I plan on making some scrumptious summer cards for my fruit loving friends.
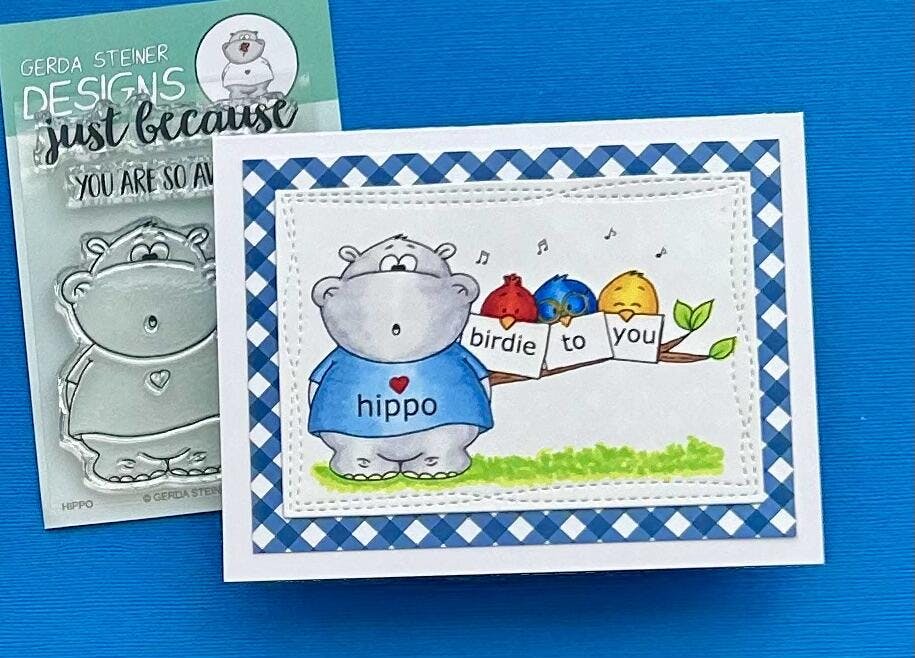
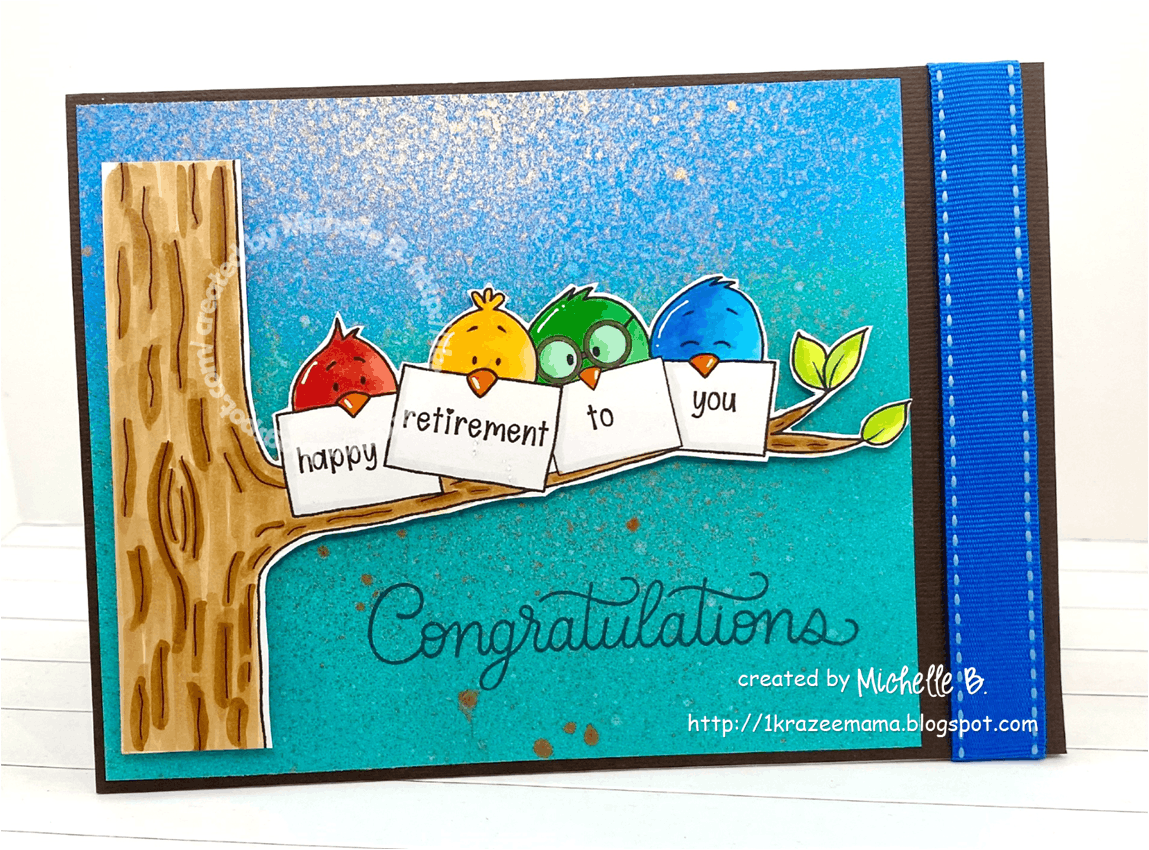
I love these cute birds and the versatility of the sign designs. This can be used for so many occasions. And, it can be combined with so many of Garda's fun critters. I used one of my favorites, Hippo, but right now, grumpy cat comes to mind. LOL.
I was asked to create a retirement card for a co-worker and I searched for ideas but nothing jumped out until I received an email introducing Birds on a Branch - now this would make a perfect retirement card and it did! So cute and versatile - I love it!
This little mouse is sure to brighten anyone’s day and bring a bit of encouragement to its recipient. I’ve already made a number up for friends in need. I appreciate that it can be colored up very quickly, which is great when you need to let someone know you are there for them.